Are you ready to unlock the incredible world of coding but feel overwhelmed by where to begin? Imagine building the next big app or even modding your favorite games! Java, the powerful language behind giants like Minecraft, Android, and countless enterprise applications, might seem complex, but it’s surprisingly accessible, especially for curious high schoolers like you. This guide is your ultimate launchpad into Java programming using Apache NetBeans, a user-friendly and robust Integrated Development Environment (IDE) that transforms coding from intimidating command lines into an intuitive, visual playground.
By the end of this post, you’ll not only have your complete Java coding environment set up, but you’ll also write and execute your very first Java program, taking a monumental step towards becoming a proficient developer. Get ready to dive in and discover the exciting possibilities of Java programming!
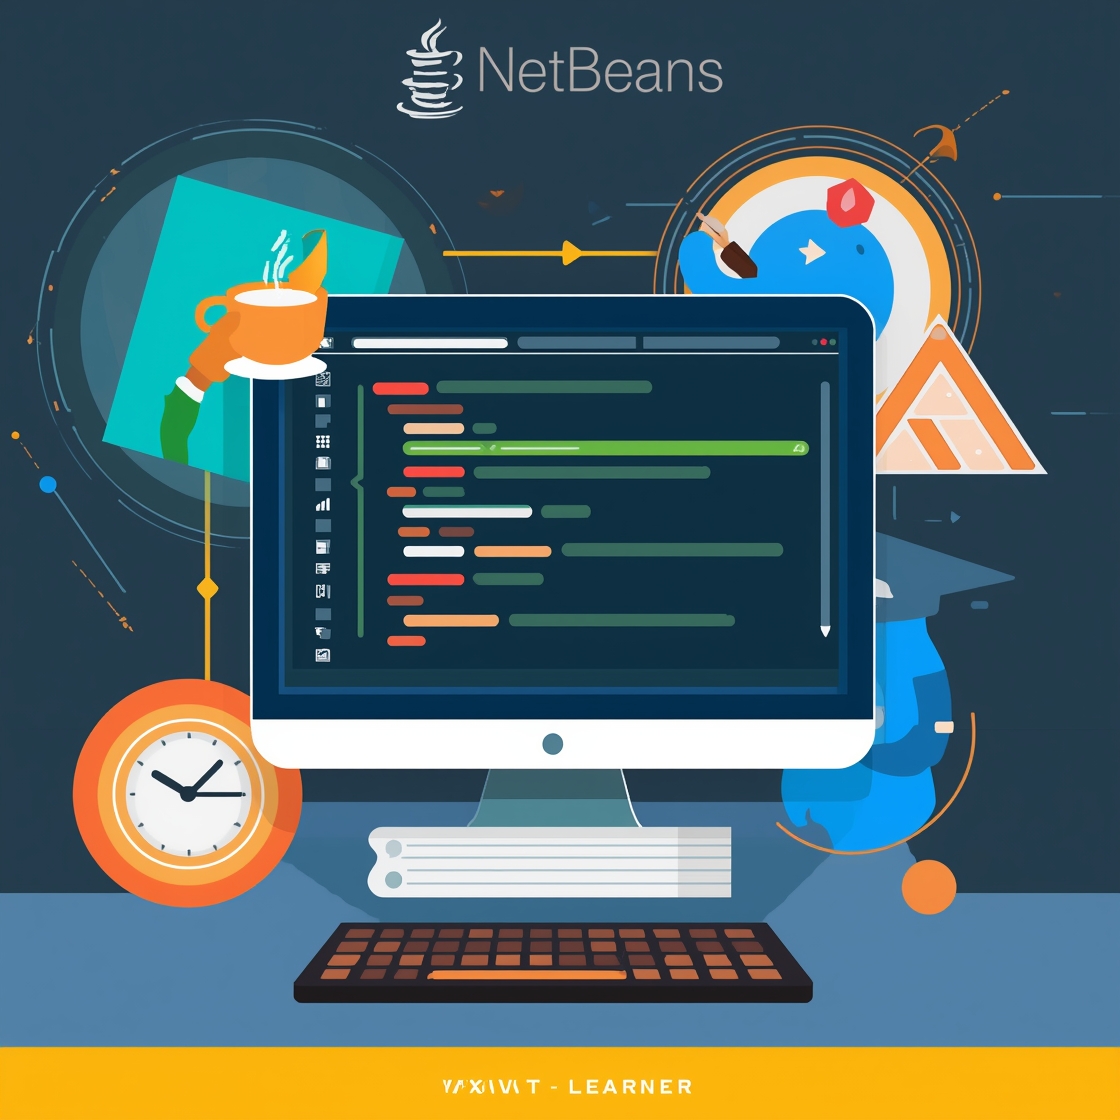
Why Java? Why NetBeans? Your Perfect Coding Pair
Java: The Powerhouse Language You Need to Know
Imagine a language that truly runs everywhere – from your smartphone to massive web servers and scientific applications. That’s Java! Its famous promise, “Write Once, Run Anywhere,” isn’t just a slogan; it’s a testament to its incredible versatility and reliability.
Learning Java isn’t just about syntax; it’s about building a solid foundation in core computer science principles. As an object-oriented programming (OOP) language, Java teaches you to organize your code into modular, reusable components – think of it like building with LEGOs instead of raw bricks. This structured approach is crucial for modern software development and problem-solving.
Beyond academics, Java is a highly sought-after skill in the tech industry, opening doors to careers in game development, web applications, mobile apps, and more. It’s a language that equips you with logical thinking and practical problem-solving abilities that extend far beyond the keyboard.
NetBeans: Your Intuitive Coding Companion
While Java provides the powerful engine, an Integrated Development Environment (IDE) like NetBeans offers the dashboard, steering wheel, and navigation system all in one place. Forget the struggles of a basic text editor; NetBeans streamlines your entire development process with features like:
- Smart Code Editor: Highlights syntax, auto-completes code, and catches errors as you type.
- Debugger: Helps you pinpoint and fix issues in your code, like a detective for bugs!
- Compiler: Translates your human-readable Java code into instructions the computer understands.
For beginners, NetBeans is a game-changer. Its intuitive graphical interface makes project creation simple and offers helpful suggestions, reducing frustration and letting you focus on learning the logic of programming. It’s truly designed to make learning Java an enjoyable experience.
Setting Up Your Coding Command Center: The Essentials
Before you can start crafting amazing Java applications, you need two fundamental tools: the Java Development Kit (JDK) and Apache NetBeans. Think of the JDK as Java’s brain – it contains all the core tools needed to compile, run, and develop Java programs. NetBeans, then, is your user-friendly interface for interacting with that brain.
The good news is that most modern NetBeans installers come conveniently bundled with the JDK, simplifying your setup process significantly. Your first step is to:
- Visit the Official Site: Go to netbeans.apache.org.
- Download: Find and download the latest stable version of Apache NetBeans that includes the JDK.
- Install: Follow the straightforward installation wizard, typically clicking “Next” a few times to accept defaults.
- Launch: Once installed, launch NetBeans. You’ll be greeted by its clean, welcoming interface, ready for action!
Your First Java Project: “Hello, Future Coder!”
It’s a programming rite of passage to start with a “Hello, World!” program. We’ll personalize ours to welcome you to the coding community!
1. Create a New Project in NetBeans
- Go to File > New Project… (or click the yellow folder icon with a green plus sign in the toolbar).
- In the New Project wizard:
- Under Categories, select
Java with Ant. - Under Projects, select
Java Application. - Click Next.
- Under Categories, select
- Configure Your Project:
- Give your project a meaningful name, e.g.,
MyFirstJavaProgram. - The default project location is usually fine, but you can change it if preferred.
- Crucially, ensure “Create Main Class” is checked. This automatically sets up the essential file structure we need.
- Click Finish.
- Give your project a meaningful name, e.g.,
2. Understand the Auto-Generated Code
NetBeans will open a file, likely named MyFirstJavaProgram.java, displaying some pre-written code. Don’t worry if it seems like a foreign language. The most vital part for us is this specific block:
public static void main(String[] args) {
    // Type your code here
}
This is the main method, the designated starting point for every Java application. Any instructions you want your program to execute when it runs must be placed inside those curly braces {}. It’s where your code comes to life!
3. Write Your First Line of Java Code
Inside the main method’s curly braces, replace the comment // Type your code here with your very first line of actual Java code:
System.out.println("Hello, Future Coder!");
Let’s break this down:
System.out.println: This is a standard Java command that prints text to the console (the output window)."Hello, Future Coder!": The text you want to display must be enclosed in double quotes"".;: The semicolon at the end is essential! It signals to Java that this instruction is complete.
Your complete code within the MyFirstJavaProgram.java file should now look similar to this:
package myfirstjavaprogram;

public class MyFirstJavaProgram {
    public static void main(String[] args) {
        System.out.println("Hello, Future Coder!");
    }
}
Run Your Program & Witness the Magic!
Now for the moment of truth – seeing your code execute!
- Run: Click the green play button (Run Project) in the NetBeans toolbar, or press Shift + F6 (Run File) for the currently open file.
- Output: A new Output pane will appear at the bottom of the NetBeans window. You should proudly see
Hello, Future Coder!displayed there.
Congratulations! You’ve successfully written and executed your very first Java program. If you encounter any red squiggly lines or error messages, don’t fret! These are syntax errors, often caused by a missing semicolon, a typo, or unmatched parentheses. NetBeans is excellent at highlighting these, guiding you to the exact spot where the problem lies. Read the error messages; they’re your best teachers!
Beyond “Hello World”: Variables for Dynamic Programs
Printing text is just the beginning. Let’s introduce variables – fundamental building blocks that allow your programs to store and manipulate data. Think of variables as labeled boxes where you can store different types of information.
1. Storing Information with Variables
Add these lines inside your main method, right after your “Hello, Future Coder!” line:
String coderName = "Alex";
int currentYear = 2024;
System.out.println("Hello, " + coderName + "! It's currently " + currentYear + ". Let's code!");
Let’s decode these new lines:
String coderName = "Alex";: We declare a variable namedcoderNameof typeString(used for text) and assign it the value “Alex”.int currentYear = 2024;: We declare a variable namedcurrentYearof typeint(used for whole numbers) and assign it the value2024.- The
+signs are used to concatenate (join together) different pieces of text and variable values into a single output string.
Run your program again. You’ll now see both your initial greeting and your new personalized message, demonstrating Java’s ability to store and interact with dynamic data – a core concept for any complex software!
Your Next Steps: Continuing the Java Adventure
You’ve made an incredible start! The world of Java is vast and exciting, and with NetBeans as your reliable guide, you’re perfectly equipped to explore it further. Here are some actionable tips to continue your journey:
- Practice Consistently: The best way to solidify your learning is by doing. Experiment with changing variable values, adding more
printlnstatements, or trying out small coding challenges. - Explore NetBeans Features: Get comfortable with code completion (start typing and press
Ctrl + Space), navigate the project explorer, and customize your environment. - Leverage Online Resources: Dive deeper with excellent free platforms like Codecademy, freeCodeCamp, W3Schools, and the comprehensive official Oracle Java Tutorials. YouTube channels also offer great visual explanations.
- Build Mini-Projects: Challenge yourself! Try creating a program that calculates simple math, asks for your name and greets you personally, or even a basic text-based adventure game. These small projects build confidence and practical skills.
- Embrace Errors as Learning Opportunities: Don’t fear red squiggly lines! Errors are invaluable feedback that helps you understand how Java expects code to be written. Read the error messages carefully – they often provide clear clues on how to fix the problem.
- Join a Community: Look for online forums or local coding clubs. Learning with others can be incredibly motivating and provide new perspectives.
Conclusion
Congratulations, aspiring coder! You’ve successfully navigated the initial setup, written your very first lines of Java code in NetBeans, and seen your program come to life. You’ve not only unlocked a powerful programming language but also a supportive development environment.
This journey isn’t just about learning syntax; it’s about developing computational thinking – the ability to break down complex problems, think logically, and devise systematic solutions. These are skills that will empower you in any field you pursue.
Keep experimenting, keep learning, and most importantly, keep that curiosity alive! The journey of a thousand lines of code truly begins with a single System.out.println. Happy coding!
Leave a Reply